Spring Boot MQTT
Introduction
Section titled “Introduction”By the time you’re reading this article, the application only contains an unauthenticated MQTT publisher.
I planned to write a more complete application with authentication, subscriber and more robust settings page.
MQTT broker setup for Windows
Section titled “MQTT broker setup for Windows”Since I wrote this code within a Windows machine, here is a short slice where I show you how to setup both an MQTT broker and an MQTT subscriber to debug the application.
First of all, install the right executable file from mosquitto.org/download page:
Running the executable will create the following directory: C:\Program Files\mosquitto.
Open mosquitto.conf file and paste the following configuration:
# Config file for mosquittoallow_anonymous true
# listener port-number [ip address/host name/unix socket path]listener 1883
Within C:\Program Files\mosquitto directory, open a couple of Command Prompt windows with Administrator rights.
The first one will run the broker:
.\mosquitto.exe -c "C:\Program Files\mosquitto\mosquitto.conf" -vThe second one will subscribe to events topic:
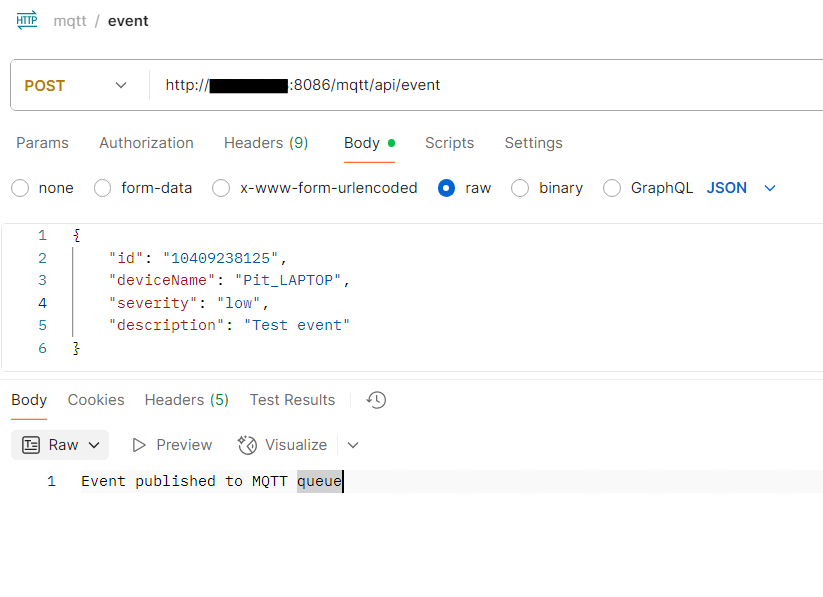
.\mosquitto_sub.exe -p 1883 -h localhost -t eventsYou can now run the Spring Boot application and trigger some events using the POST API.
Code Structure
Section titled “Code Structure”Directorysrc/main
Directoryjava/com/pietropoluzzi/mqtt
Directorycontroller
- EventController.java Expose POST API to trigger MQTT publish
Directorymodel
- Event.java model for both HTTP POST and MQTT payload
Directoryservice
- EventService.java instantiated by the controller, calls
MqttPublisherService - MqttPublisherService.java publish MQTT message with payload from
EventService
- EventService.java instantiated by the controller, calls
Directoryutil/ holds custom Swagger annotations
- …
Directoryresources
- application.properties
- pom.xml
With the application running, you can take a look at swagger API definition.
Here is a screenshot from Postman: