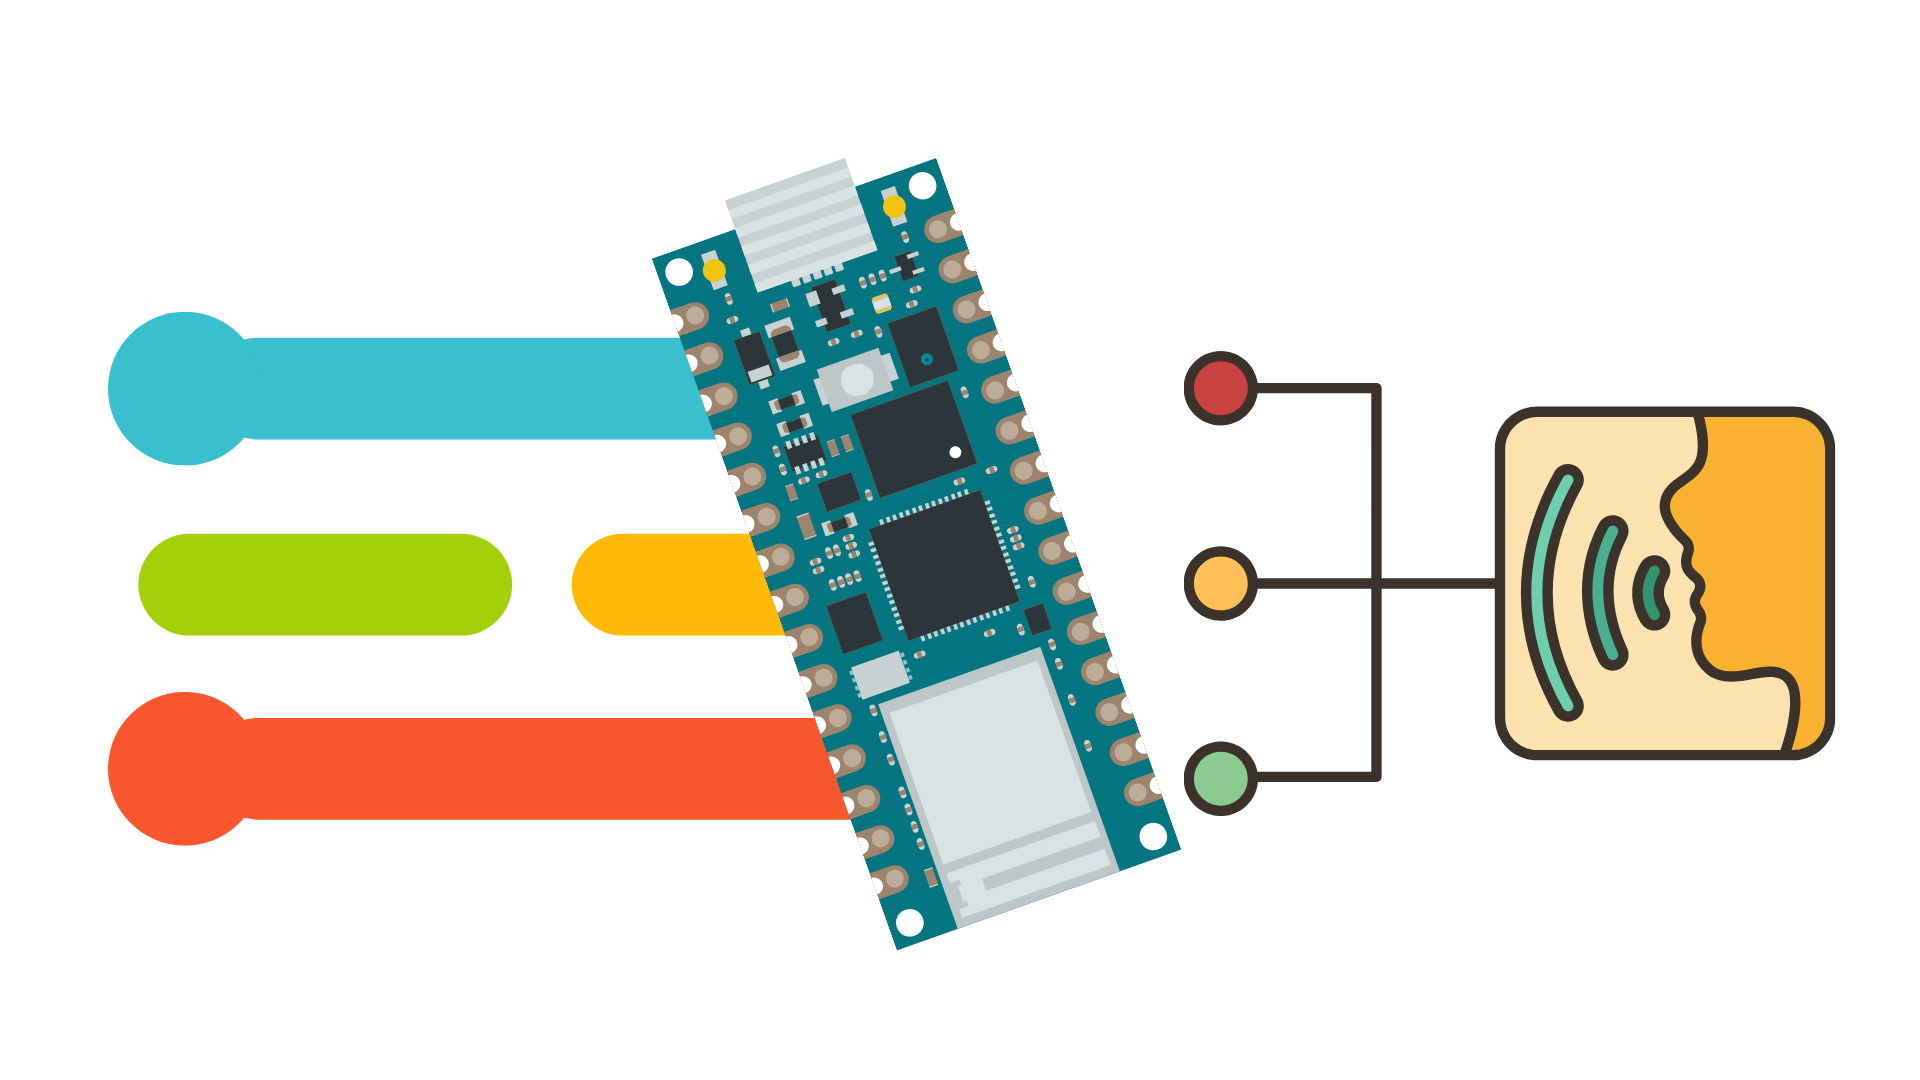
Introduction
The deep learning workflow involves the following tasks:
- Set a goal
- Collect a dataset
- Design a model architecture
- Train the model
- Convert the model to be used on the device
- Run inference
- Evaluate and troubleshoot
Let’s see how Edge Impulse platform can help you to go through all those steps without having to write too much code.
Edge Impulse
Edge Impulse is a powerful development platform for machine learning on edge devices. It allows the collection of many types of data (audio, video and countless sensors), impulse design with pre-built data processing and ML blocks, testing and deploying on a huge ecosystem of hardware market leaders like Arduino, Raspberry Pi, Nvidia and many others.
First of all, login or signup to Edge Impulse portal. Then, navigate to Select Project page and click the green button +Create new project.
I suggest you a project name similar to voice-detection-arduino-rp-2040.
RP2040 microcontroller
Raspberry Pi’s RP2040 microcontroller unit has full support from Edge Impulse platform. It can be programmed through the C/C++ SDK or using the Python flavour MicroPython.
The most known boards powered by this microcontroller are the Raspberry Pi Pico and the Arduino Nano RP2040 Connect, which will the used as deployment target for this project.
Supported devices
If you don’t own a board provided with PR2040 chip, don’t worry: you can use a device equipped with a microphone (even your computer or your smartphone).
The most common supported devices for this project are:
- Arduino Nano 33 BLE Sense
- Arduino Portenta H7 + Vision Shield
- Spresense by Sony
- NVIDIA Jetson Nano
- Mobile Smartphone
- Linux machine
Go to Devices tab and connect at least a device from the list above. The connected device will be referred as input device from now on in the blog.
In the picture below you can see how I connected an Arduino, a smartphone and a Linux computer:

Objective
The objective of this blog post is to learn how to use Edge Impulse platform in order to design, train, test and deploy a machine learning algorithm that recognize your voice. The most interesting part is that the algorithm will run on an edge device: a tiny form factor with limited resources that’s able to take decisions based on your voice commands.
Data Acquisition
First thing first: decide the keywords that the system will learn to recognize.
Some keywords are harder to distinguish from others, especially the ones made up by a single syllable.
For this reason, you should use at least three-syllable keywords like 'Hey Siri', 'OK, Google', 'Alexa'.
A good keyword to start with would be "hello world" or 'arduino'.
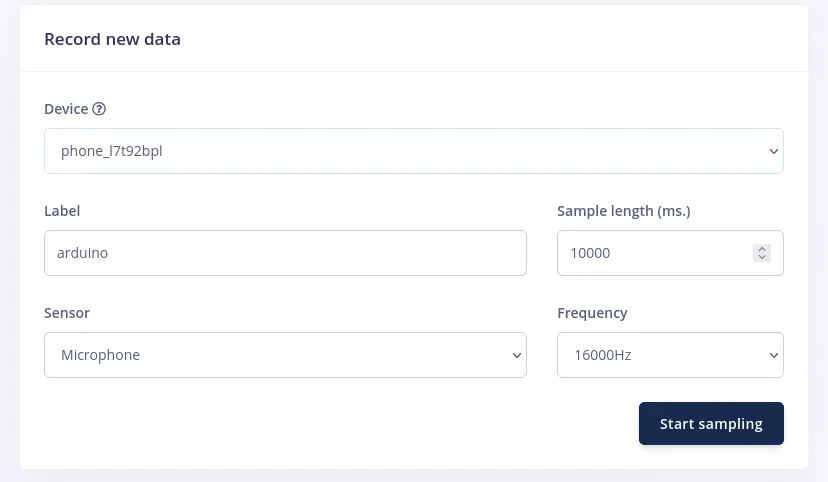
To collect your first data, go to Data acquisition tab. Under Record new data section, set the parameters as follows:
- Label: chosen keyword (
‘arduino’for this blog post) - Sample length:
10000ms(which are10s) - Frequency:
16000Hz(which are16kHz)
Then click Start sampling button and start saying your keyword over and over again.
You’ll get a file like the one below, showing your keywords separated by some noise:
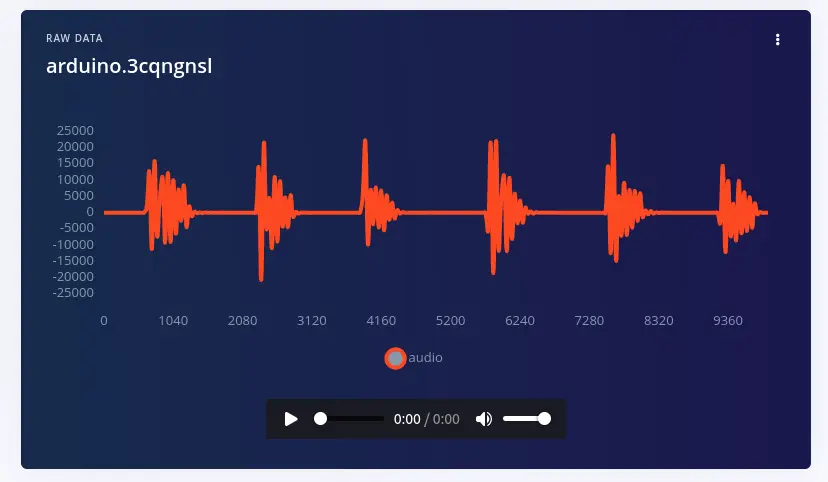
You only want the actual keyword to be labeled as such. This data is not yet ready to train or test the machine learning algorithm: you need to cut out the noisy slices of the file to avoid incorrect labelling. Click on the tree dots on the upper right and select Split sample.
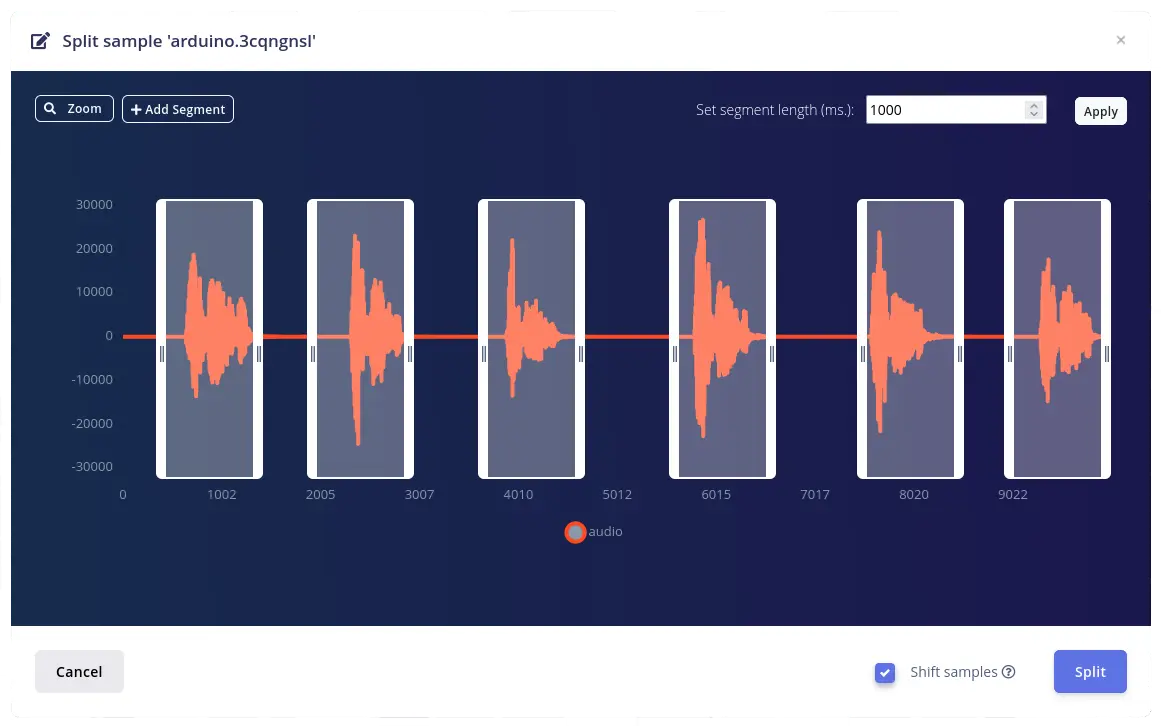
Edge Impulse will try to recognize the audio parts where you spoke.
If it doesn’t do it correctly, adjust the sections by your own.
Set a segment length of 1000ms (one second) and tick the Shift samples checkbox.
Click on Split button.
You now have individual 1 second long samples in your dataset.
Build the dataset
In addition to your keyword, you’ll need a couple of more classes:
- noise: TV playing, rain sound, engine noise of a car, …
- unknown: humans saying other words (other than your keyword)
The machine learning model has no idea about what is right or what is wrong, but only learns from the data you feed into it.
The more varied your data is, the better your model will work.
For each of the three classes ('arduino', 'noise' and 'unknown') you want to record an even amount of data: at least 10 minutes each for a good keyword spotting.
Keep in mind that balanced datasets work better.
It’s time to speak: let’s collect about 5 to 10 minutes of your keyword ('arduino') and apply the procedure explained in Data Acquisition slice!
Prebuilt datasets
For 'noise' and 'unknown' datasets you can collect by yourself like before, or use pre-built datasets provided in Edge Impulse’s Keyword spotting.
Download the .zip file and unzip only the classes you’re interested in.
There are 25 minutes of 1 second samples for each class.
You could need to select fewer files if you want balanced datasets.
Create a temporary directory containing the files you want to upload. Go to Data acquisition tab and click the Upload data button. Select the directory and pay attention to the checkboxes below:
- Upload into category: Automatically split between training and testing
- Label: Infer from filename
In this way, the data is automatically labeled and added to your project.
Rebalance the dataset
As I’ll explain in a more detailed post, collected data from all classes must be split into Train and Test datasets.
Training dataset will train the machine learning model: it holds the 80% of the actual data.
Test dataset will validate the model with the remaining 20% of the data.
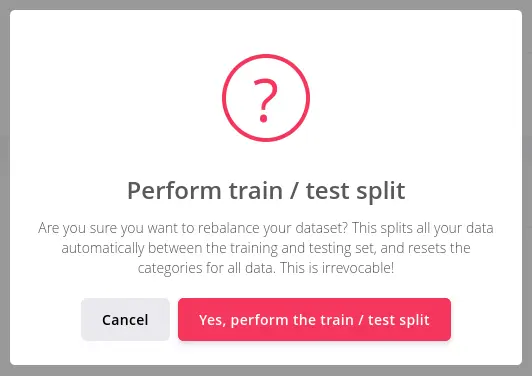
You can let Edge Impulse perform this subdivision for you. In Dashboard tab, scroll down to Danger zone. Click Perform train / test split: inside the dialog click Yes, perform train / test split button.
Impulse design
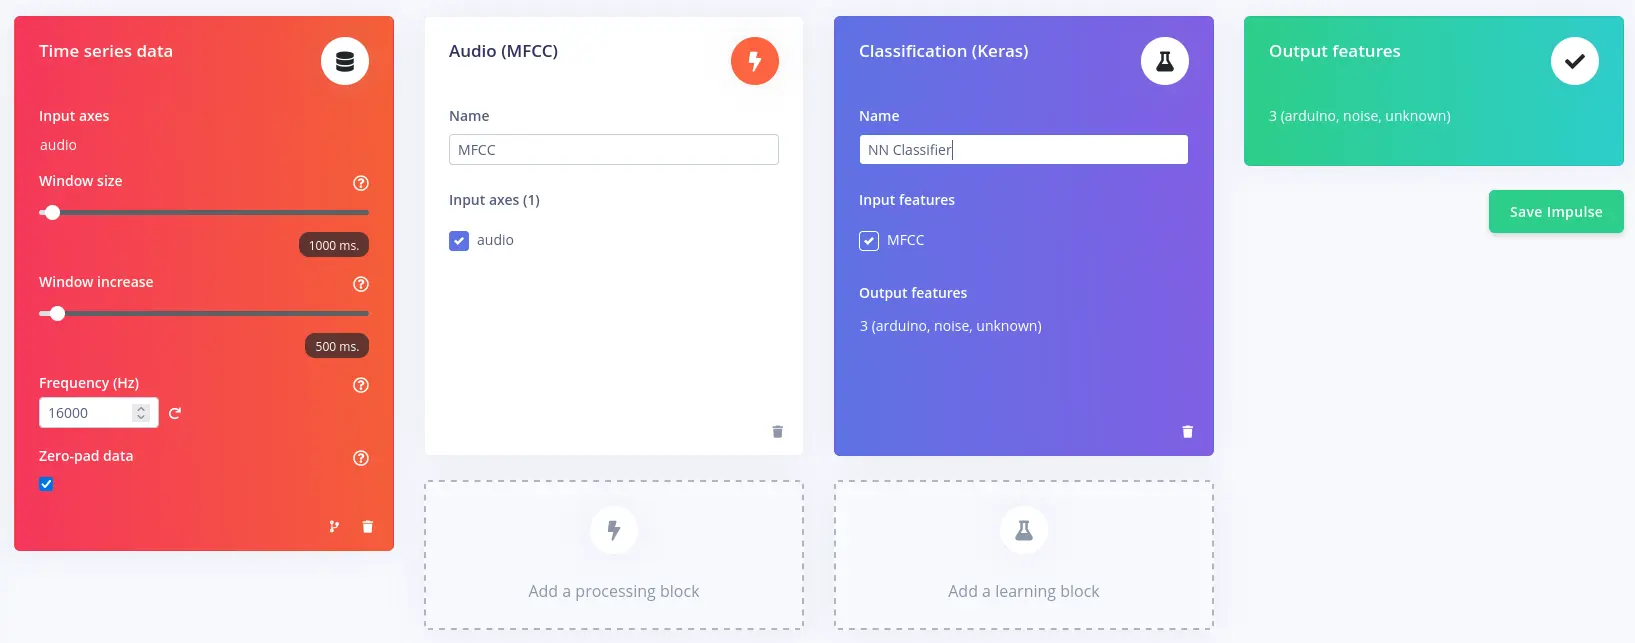
An impulse takes the raw data, slices it up, uses signal processing blocks to extract features and then uses a learning block to classify new data. You’ll need an MFCC signal processing block, which will pass the simplified audio data into a Neural Network block. Note that MFCC stands for Mel Frequency Cepstral Coefficients.
Go to Impulse design tab and add the following blocks:
- Time series data
- Audio (MFCC) processing block
- Classification (Keras) learning block
Leave the window size to 1 second since it’s the length of audio samples in the dataset.
Click Save Impulse button on the right.
MFCC block
Click on the MFCC tab. On the right, you can see the spectrogram: a visualization of the MFCC’s output for a piece of audio. It highlights frequencies which are common in human speech. The vertical axis represents the frequencies and the horizontal axis represents time.
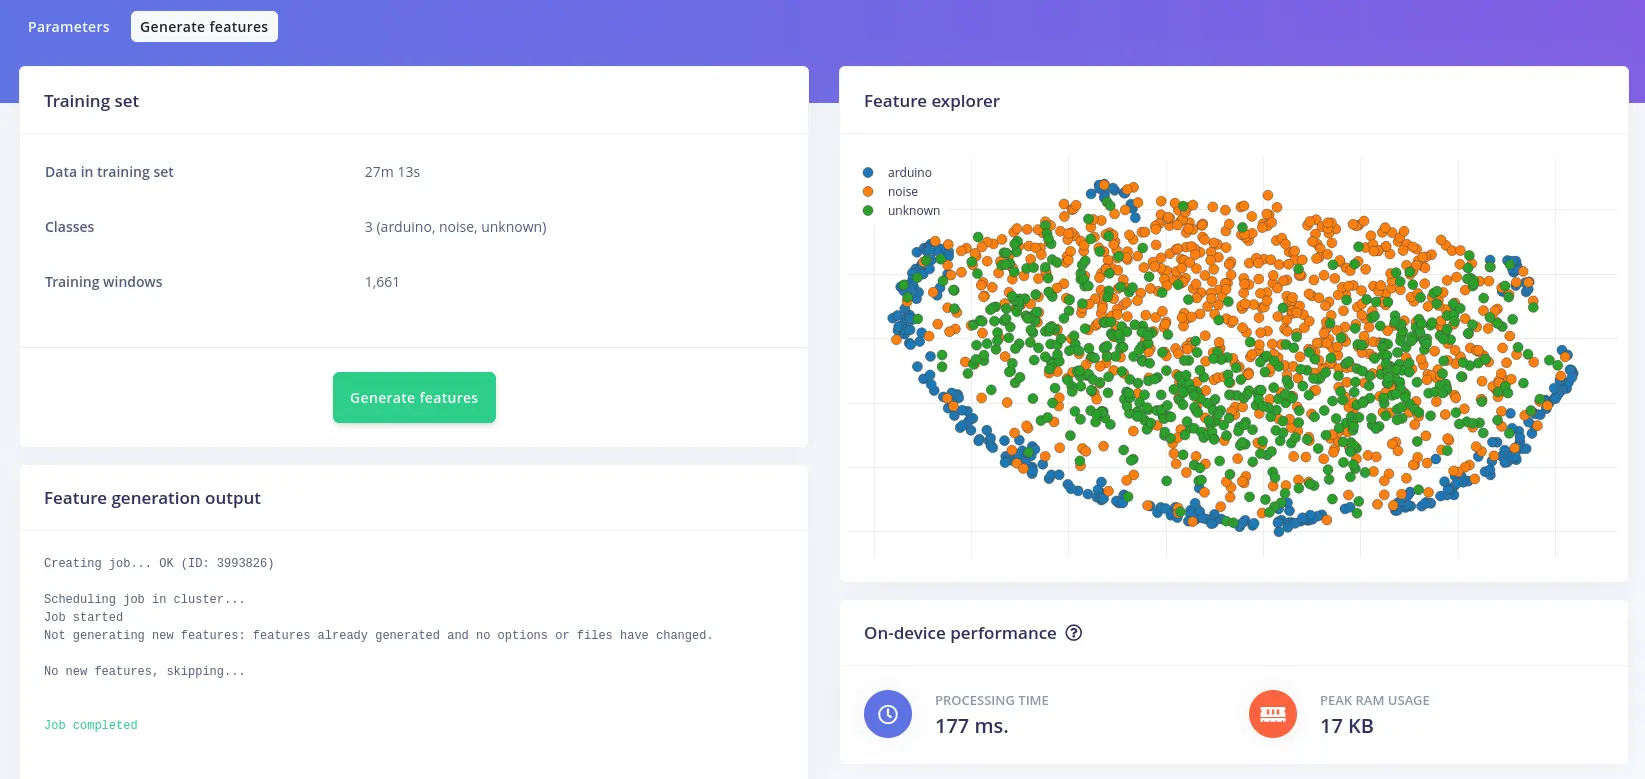
Before training the neural network, you’ll need to generate MFCC blocks for all of your windows of audio. Click the Generate features tab on the top of the page, then click Generate features button.
NN Classifier
Neural networks are algorithms that emulates the human brain behavior. They learn to recognize patterns that appear in the training data.
Click on NN Classifier sub-tab of Impulse design tab:
The MFCC’s spectrogram taken as input is transformed into two values that compute the probability that the input represents:
'arduino'(your keyword, if different)'noise'or'unknown'
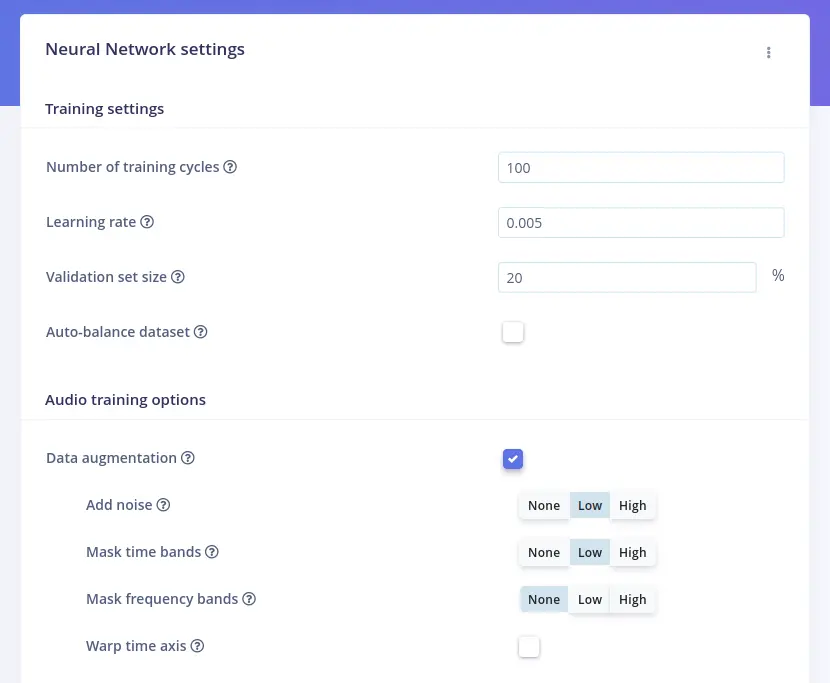
During training, the inner state of the neurons is gradually optimized to allow the network to transform its input in the right ways to produce the correct output. You can optionally enable Data augmentation checkbox. When enabled, your data is randomly mutated during training: add noise, mask time or frequency bands, warp time axis and so on. This could prevent overfitting.
Training
Let’s click Start training button. When it’s complete, take a look at Model slice.
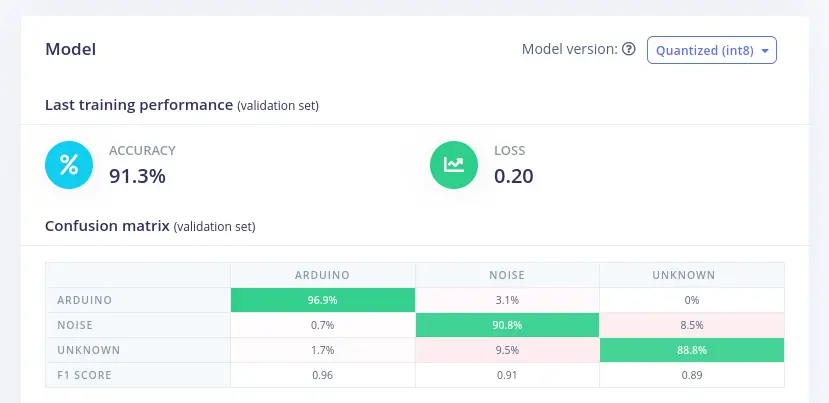
Last training performance panel displays the results of validation, which is a 20% of the training data that has been set aside to evaluate how the model is performing.
The accuracy refers to the percentage of audio windows that were correctly classified, while loss is the difference between the actual output and the predicted output.
Confusion matrix shows the balance of correctly versus incorrectly classified windows.
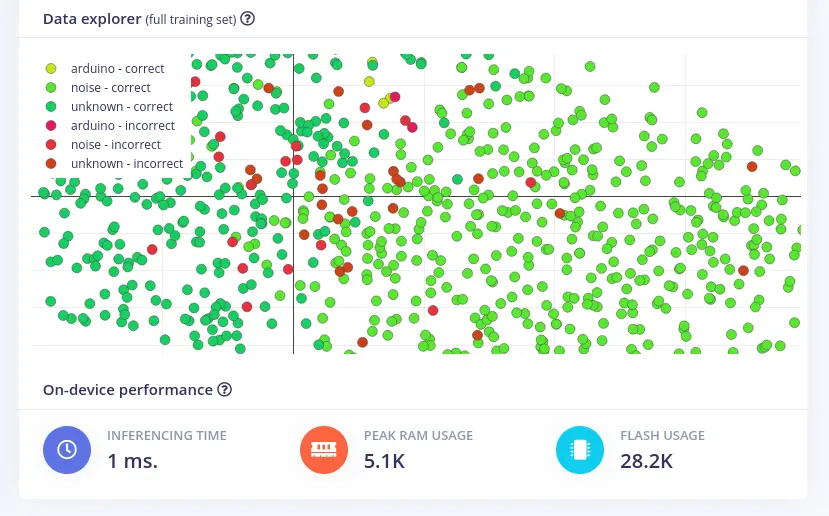
Data explorer shows all the training set classified by the neural network.
On-device performance shows stats about how the model is likely to run on an edge device:
- Inferencing Time: estimate of how long the model will take to analyze
1second of data - Peak RAM usage: estimation of RAM required to run the model on-device
- Flash usage: estimation of flash memory required to run the model on-device
Retrain the data
If you perform any changes to the dataset, you must retrain the model. In Retrain model tab click Train model button.
Testing
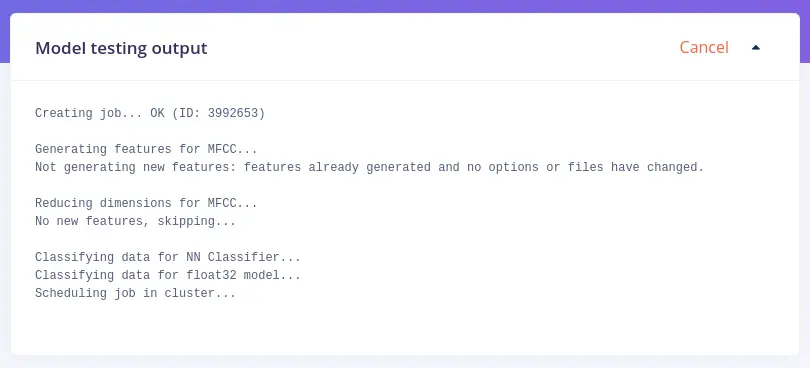
It’s very important to test the model on unseen data: that’s why you had to perform the split in Rebalance the dataset blog slice. This will ensure the model has not learned to overfit the training data. To run your model against the test set, click Model testing tab on the left menu. On the right of Test data title, click Classify all button.
To analyze a misclassified sample, click the three dots next to a sample and select Show classification, which will move you to Live classification tab where you inspect the sample and compare it to your training data. You can either update the label or move the item to the training set to refine the model.
Deploy the model
Move to Deployment tab, where you can choose the destination target of your model.
You can create a library in C++, Arduino, WebAssembly, TensorRT (Nvidia) and many others.
You can also build a firmware for Linux boards, many Nordic and Arduino boards, RP2040 and tons of other boards.
Create Arduino library
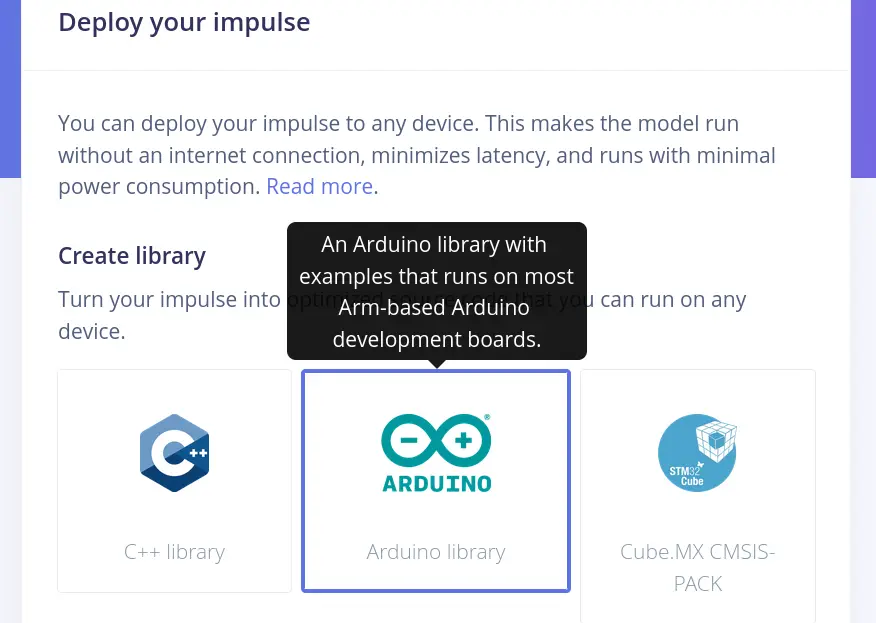
Click on Arduino library, scroll down the page and click Build button. Note that you can optionally enable EON™ Compiler.
Building process will end up downloading an archive called about so: ei-voice-detection-arduino.zip.
Open Arduino IDE and click on Sketch, Include library and Add .ZIP Library... then select the .zip archive.
Arduino Nano RP2040 Connect and BLE Sense compatible code example is placed in nano_ble33_sense_microphone directory, which is under File menu, Example submenu, voice-detection_inferencing directory, nano_ble33_sense subdirectory.
You can find my own examples in voice-recognition subdirectory of arduino-projects GitLab repository.
To allow compiling on Arduino Nano family boards, click on Tools, Board and Boards Manager... and install Arduino Mbed OS Nano Boards package.
Nano RP2040 Connect ROM Bootloader mode
Since Arduino Nano RP2040 Connect upload procedure relies on the Raspberry’s bootloader, it could be seen as a mass storage device from your computer. If your machine is fast enough during a sketch upload, it can notify you about a USB device being plugged.
When a sketch is uploaded successfully, the mass storage of the board may be visible to the OS.
When this occurs, you can force the ROM bootloader mode, which will enable mass storage, allowing you to upload UF2 images like CircuitPython, MicroPython, a regular Arduino sketch or an Edge Impulse firmware.
If the board is not detected even when is connected to your computer. You can solve through the following steps:
- Connect jumper wire between
GNDandRECpins - Press Reset button
- Unplug and plug back the UBS cable
- Upload the Arduino sketch
A factory-reset can be performed by dragging the blink.ino.elf.uf2 file into the mass storage (wait for the mass storage to automatically unmount).
Post Install script
If you can’t manage to get the Arduino Nano RP2040 Connect working, try to run this command:
sudo ~/.arduino15/packages/arduino/hardware/mbed_nano/3.2.0/post-install.shBy the time you’ll read this article, the version 3.2.0 could have changed.
If the version becomes X.Y.Z, you would need to run the command:
sudo ~/.arduino15/packages/arduino/hardware/mbed_nano/X.Y.Z/post-install.shBuild RP2040 firmware
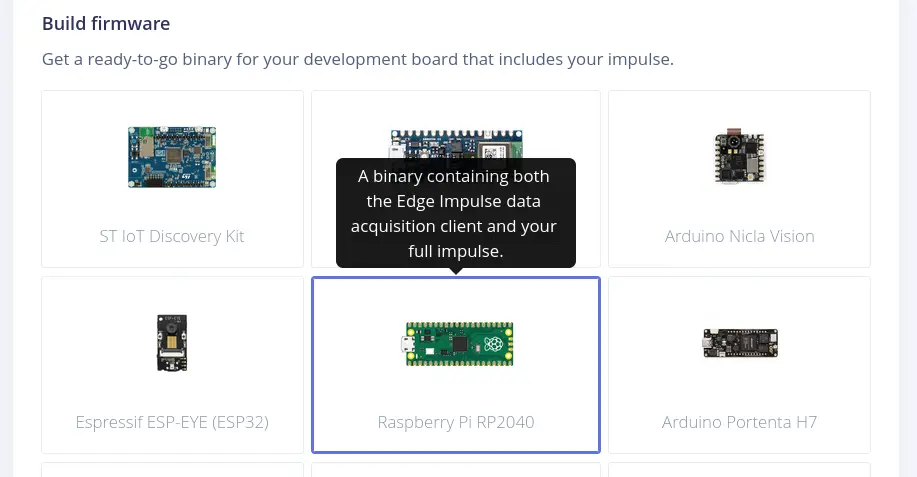
Click on Raspberry Pi RP2040, scroll down the page and click Build button.
Building process will end up downloading a .zip archive containing a UF2 file called ei_rp2040_firmware.uf2, which you should extract in the directory you prefer.
The steps are similar to Arduino sketch uploading:
- Connect jumper wire between
GNDandRECpins - Press Reset button
- Unplug and plug back the UBS cable
- Drag and drop
ei_rp2040_firmware.uf2file into the mass storage - Wait for the mass storage to automatically unmount
Lastly, open a Terminal window and run the Edge Impulse daemon:
edge-impulse-run-impulseNote that you can run the daemon if you have installed Edge Impulse locally on your computer following one of those tutorials:
Conclusion
Wow, here we are. It was a very long journey!
This was the very first blog post concerning machine learning and I really hope there will be many more in the future. The capability of a tiny Arduino board are stunning!
I can’t wait to learn and experiment with new sensors, boards, impulse blocks and make my ideas come true.
Documentation
Some useful links:
- Responding to your voice Edge Impulse tutorial
voice-detection-arduino-rp-2040Edge Impulse project- Edge Impulse CLI installation
- RP2040 supported platform
- Nano RP2040 Connect Cheat Sheet
voice-recognitionsubdirectory ofarduino-projectsGitLab repository
